


How to Remove Mould in 30 seconds
How to Remove Mould in 30 seconds
Mould can be a stubborn and unsightly problem in homes, especially in damp areas like bathrooms, kitchens, and laundries. Left untreated, it can damage surfaces and affect indoor air quality.
Fortunately, with the right approach, you can eliminate mould quickly and effectively. Follow these simple steps to remove mould in just 30 seconds.
Tools You Need
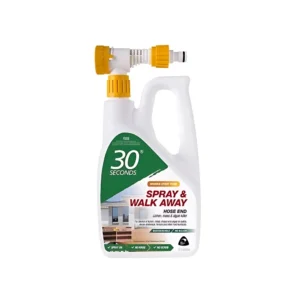
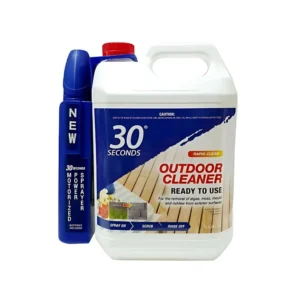
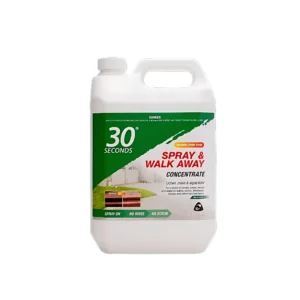
- Mould Remover Spray
- Clean Microfibre Cloth or Sponge
- Scrubbing Brush (for stubborn mould)
- Protective Gloves
- Safety Goggles
- Face Mask (to avoid inhaling mould spores)
Step 1
Gather Your Supplies
Before you start, ensure you have everything you need: a mould remover spray (such as Selleys Rapid Mould Killer), a clean microfibre cloth or sponge, protective gloves, safety goggles, a scrubbing brush for stubborn mould, and a face mask to avoid inhaling mould spores.
Step 2
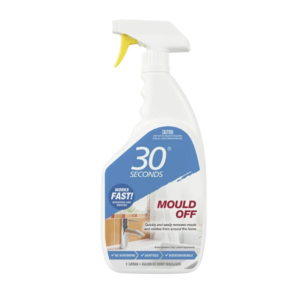
Spray 30 Seconds Mould Remover to the Affected Area
Once you have your supplies ready, put on your protective gloves and safety glasses to safeguard your skin and eyes. Shake the mould remover bottle well to ensure the active ingredients are evenly mixed.
Then, hold the bottle a few centimetres away from the mouldy surface and spray generously. Ensure complete coverage of all visible mould patches, as well as surrounding areas that may be affected by spores.
Step 3
Let It Work for 30 Seconds
Patience is key! After applying the mould remover, allow it to sit undisturbed for at least 30 seconds. This waiting period gives the active ingredients enough time to penetrate, break down, and lift the mould. Avoid scrubbing immediately, as allowing the solution to work on its own will increase its effectiveness and minimise unnecessary effort.
Step 4
Wipe or Scrub the Surface
After waiting 30 seconds, it’s time to remove the mould. Depending on the surface type and the severity of the mould growth, use a:
- Scrubbing brush – Ideal for rough or textured surfaces such as grout, tiles, and outdoor furniture.
- Sponge – Works well for moderately affected areas that require some scrubbing but not too much force.
- Cloth – Best for smooth surfaces such as walls and countertops where mould wipes away easily.
If mould remains after the first attempt, repeat the spraying process for stubborn patches.
Step 5
Rinse and Dry the Area
After removing the mould, it’s important to eliminate any remaining residue. Use a clean, damp cloth to wipe the surface thoroughly.
If needed, rinse the area with water to ensure all cleaning product residue is gone. Finally, dry the surface completely with a fresh cloth to prevent moisture build-up, which can lead to recurring mould problems.
Final Tips to Prevent Mould Growth
- Test First: Always apply the mould remover to a small, inconspicuous area first to check for any potential surface discolouration or damage.
- Improve Ventilation: Keep areas well-ventilated by using exhaust fans, opening windows, or installing a dehumidifier.
- Reduce Humidity: Use moisture absorbers or air conditioners in particularly damp spaces to prevent excess moisture from accumulating.
- Regular Cleaning: Frequently inspect and clean bathrooms, kitchens, and laundry rooms where mould is most likely to form.
- Fix Leaks: Address any plumbing leaks or condensation issues promptly to prevent water accumulation.
By following these steps, you can effectively remove mould in just 30 seconds and keep your home fresh, clean, and mould-free!
 Shop By Pest
 Mosquito Traps
 Health Solutions