Homemade Seaweed Fertiliser

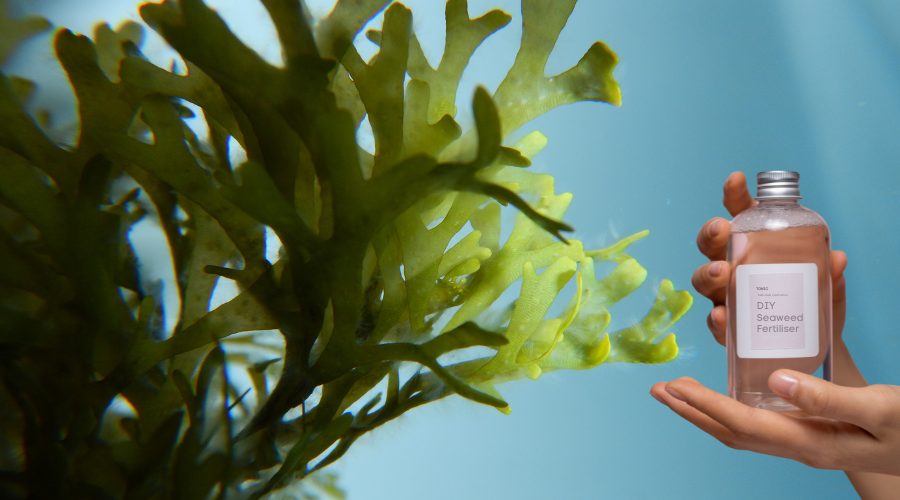
In this guide, we’ll explain the benefits of using seaweed as a fertilizer, and then walk you through the step-by-step process to make your own nutrient-rich seaweed tonic at home. This is a great way to have a more sustainable garden, so let’s get started with making your own homemade seaweed fertilizer!
Why use Seasol as a fertiliser?

Seaweed makes a great natural fertilizer for gardens and farms because it is packed with nutrients that plants need to grow healthy and strong. Seaweed contains important plant nutrients like nitrogen, potassium, and phosphorus, as well as lots of other trace minerals. But seaweed does more than just provide nutrition – it also has natural plant growth hormones that can help plants develop strong, healthy roots and grow more leaves and stems.
The special compounds in seaweed also help make plants more resistant to pests, diseases, drought, frost, and other environmental stresses. Plus, the organic matter in seaweed helps improve the quality of the soil by making it better at holding onto water and nutrients.
Compared to synthetic fertilizers, seaweed provides a more complete and balanced set of nutrients for plants. This makes seaweed a great sustainable and eco-friendly choice for gardeners and farmers who want to naturally boost the health and growth of their plants.
Supplies Needed
- Seaweed: Fresh (such as kelp, nori, or sea lettuce) or dried
- Large bucket or container with a lid
- Water
How to make a Homemade Seaweed Fertiliser

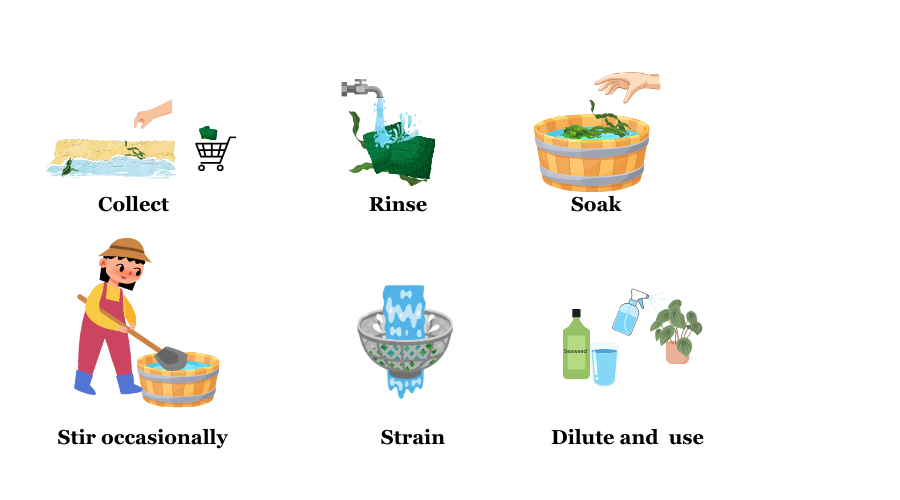
Step 1: Collect the Seaweed
Step 4: Steep the Seaweed
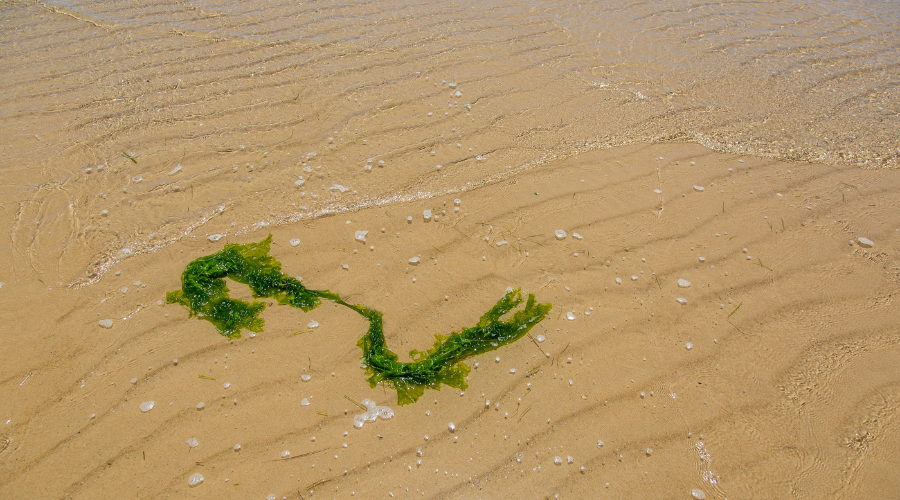
If possible, collect fresh seaweed that has washed up on the shore. Be sure to choose seaweed that is free from pollutants. Avoid pulling live seaweed from the ocean, as this can harm the local ecosystem. Alternatively, you can use dried, unroasted seaweed purchased online or from a gardening store
Allow the seaweed to soak for at least four weeks. During this period, the water will become enriched with beneficial compounds from the seaweed. Stir the mixture every few days to help release more nutrients into the water.
Step 2: Rinse the Seaweed
Step 5: Strain the Liquid
Rinse the collected seaweed thoroughly under running water to remove any sand, salt, or debris. This step is important to ensure that your fertilizer is clean and free from unwanted impurities.
After the steeping period, strain the liquid through a fine mesh sieve or cheesecloth. This will separate the solid seaweed from the nutrient-rich “tea.” Compost the solids or use them as a mulch, as they still contain valuable nutrients.
Step 3: Soak the Seaweed
Step 7: Dilute and use
Place the cleaned seaweed into a large bucket or container. Cover it completely with water, ensuring that all pieces are fully submerged. This soaking process is vital for extracting the nutrients from the seaweed.
The concentrated seaweed tea should be diluted with water before use. A typical dilution ratio is 1 part seaweed tea to 10 parts water. Use this diluted mixture to water your plants directly on the soil or as a foliar spray to nourish leaves directly.
Conclusion
Making your own homemade seaweed fertiliser at home is not only straightforward but also an environmentally friendly way to ensure your plants receive the best possible care. With this step-by-step guide, you can produce a homemade seaweed fertilizer that will enrich your garden and help it flourish.
By utilizing the natural power of seaweed, you are taking an active step toward sustainable gardening practices while providing your plants with a high-quality, nutrient-rich tonic. Get started today and see the difference in your garden’s health and productivity!


 Mosquito Traps